Preparing Your Custom Outdoor Kitchen for Winter in Southwest Michigan
Winterizing Your Custom Outdoor Kitchen in Southwest Michigan
Preparing a custom outdoor kitchen for winter means protecting the brick, stone, mortar, counters, storage areas, and fire features that make the space unique. Southwest Michigan’s repeated freezing, thawing, snow, and moisture can expose small maintenance issues that were easy to overlook during summer.
A fall inspection and cleanup can reduce moisture problems, prevent avoidable damage, and make reopening the kitchen easier in spring. Use this checklist to focus on the masonry and custom-built features that need attention before cold weather settles in.
1. Clean the Kitchen & Remove Seasonal Clutter
Begin by clearing food residue, leaves, soil, grease, and other debris from the outdoor kitchen. Organic material can hold moisture against masonry, stain porous surfaces, attract pests, and block small drainage openings.
Use cleaning products that are appropriate for the specific brick, natural stone, mortar, or countertop material. Harsh chemicals and overly aggressive pressure washing can discolor masonry, erode mortar, or force water deeper into a porous surface.
Your fall cleanup should include:
- Wiping down counters and preparation surfaces
- Clearing leaves from corners, joints, and wall bases
- Removing food, paper goods, towels, and seasonal decorations
- Cleaning soot and residue from masonry cooking areas
- Emptying planters or containers that could trap water beside the structure
- Checking that cabinet interiors are clean and dry
- Moving cushions and other moisture-sensitive items indoors
Allow everything to dry before installing winter covers. Covering damp masonry, counters, or metal components can trap moisture instead of protecting the kitchen.
2. Inspect the Brick, Stone & Mortar
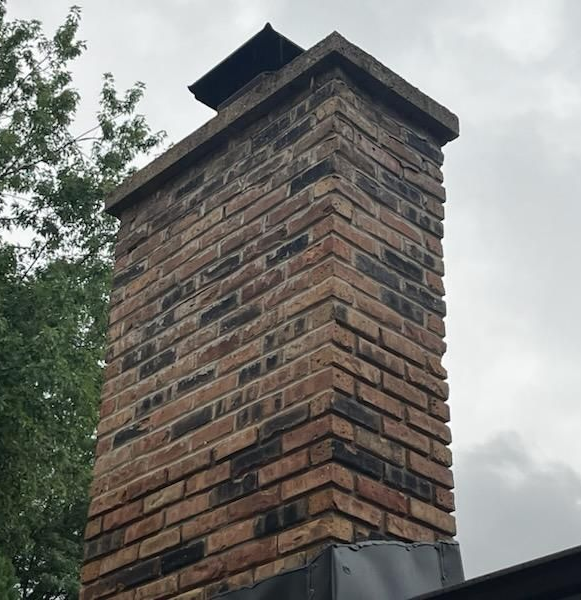
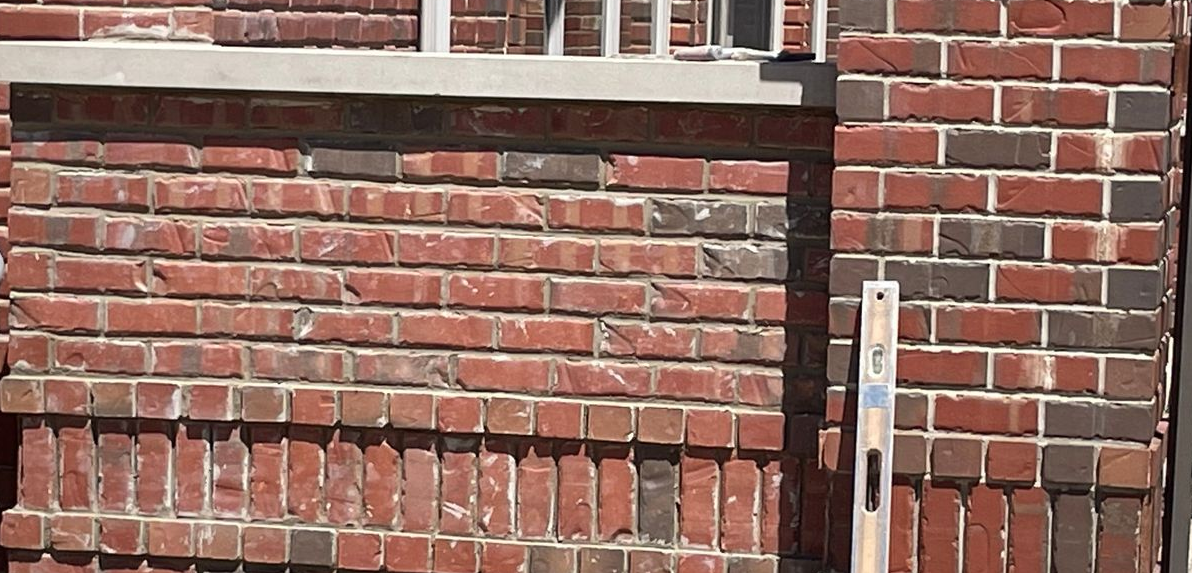
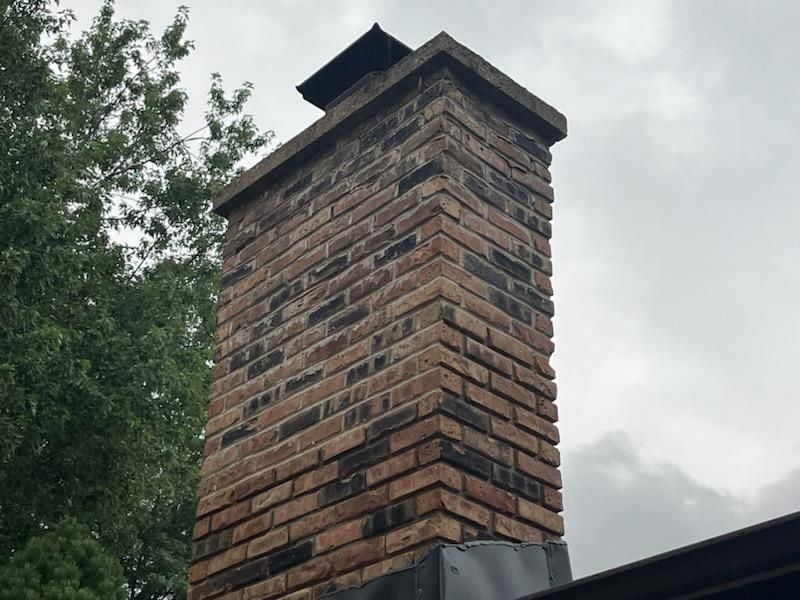
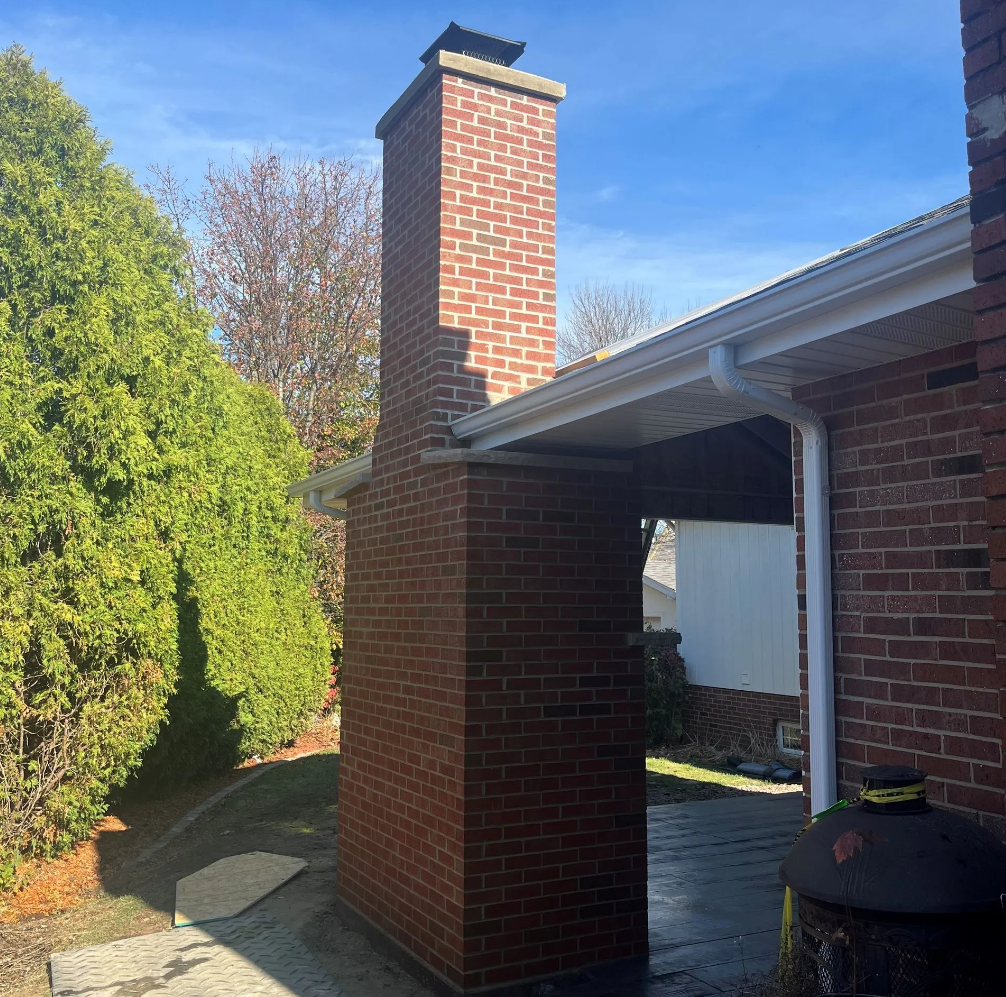
Small masonry defects deserve attention before winter because water can enter a crack, freeze, expand, and make the opening larger. Repeated freeze-thaw cycles may gradually loosen mortar, damage masonry faces, or allow more moisture into the structure.
Look closely at the kitchen base, walls, corners, arches, counters, seating features, pizza oven, and fireplace. Changes that may require professional evaluation include:
- Cracked, loose, or shifted brick and stone
- Recessed, crumbling, or missing mortar
- Flaking or spalling masonry surfaces
- Open joints around caps and countertop edges
- White staining that may indicate moisture movement
- Areas that remain damp longer than the surrounding masonry
- Gaps around doors, access panels, or storage openings
Take a few photos during your fall inspection. They will give you a reference if you notice a change after winter. A crack that remains unchanged may require a different response than one that widens or begins releasing loose material.
Avoid filling cracks with random caulk or patching products. A quick surface repair can conceal the underlying problem, trap water, or create an obvious mismatch. Proper masonry repair considers the material, the source of movement, and the color and composition of the existing mortar.
3. Keep Water Moving Away from the Kitchen
Moisture management is one of the most important parts of protecting an outdoor kitchen. Rain, melting snow, and ice need a clear route away from the masonry rather than collecting against walls, beneath counters, or around built-in features.
Remove leaves and debris from drainage openings. Check the base of the kitchen after rain and note any areas where water collects. If runoff repeatedly moves toward the structure, the problem should be evaluated rather than ignored through another winter.
Horizontal masonry surfaces also need attention. Caps, ledges, and countertop edges should shed water rather than directing it into joints. A loose cap or failed joint can admit moisture from above, where it may remain hidden until freezing temperatures cause visible damage.
During winter, remove heavy snow carefully when it begins placing unnecessary weight on covers or custom features. Avoid striking masonry edges with a metal shovel. Deicing salts should also be kept away from brick, stone, mortar, and metal elements because they may contribute to staining, corrosion, and surface deterioration.
4. Protect Countertops, Caps & Other Exposed Surfaces
Outdoor kitchen counters and masonry caps receive direct exposure to rain, snow, falling debris, and temperature changes. Clean these surfaces before winter and inspect seams, joints, edges, and transitions where different materials meet.
Not every counter or stone surface needs the same treatment. Natural stone, concrete, manufactured materials, and tile can have different cleaning and sealing requirements. Before applying a sealer, confirm that it is suitable for the material and that the surface is dry enough for proper application.
A sealer should not be treated as a universal fix for cracking or moisture. If water is entering through a damaged joint or moving from inside the structure, coating the exposed face may fail to address the source. Repair loose materials and open joints before deciding whether a protective treatment is appropriate.
Use fitted covers only where they are recommended, and make sure they cannot collect large pools of water. Covers should remain secure in winter wind without rubbing constantly against finished edges or trapping moisture underneath.
5. Prepare Custom Pizza Ovens & Fireplaces
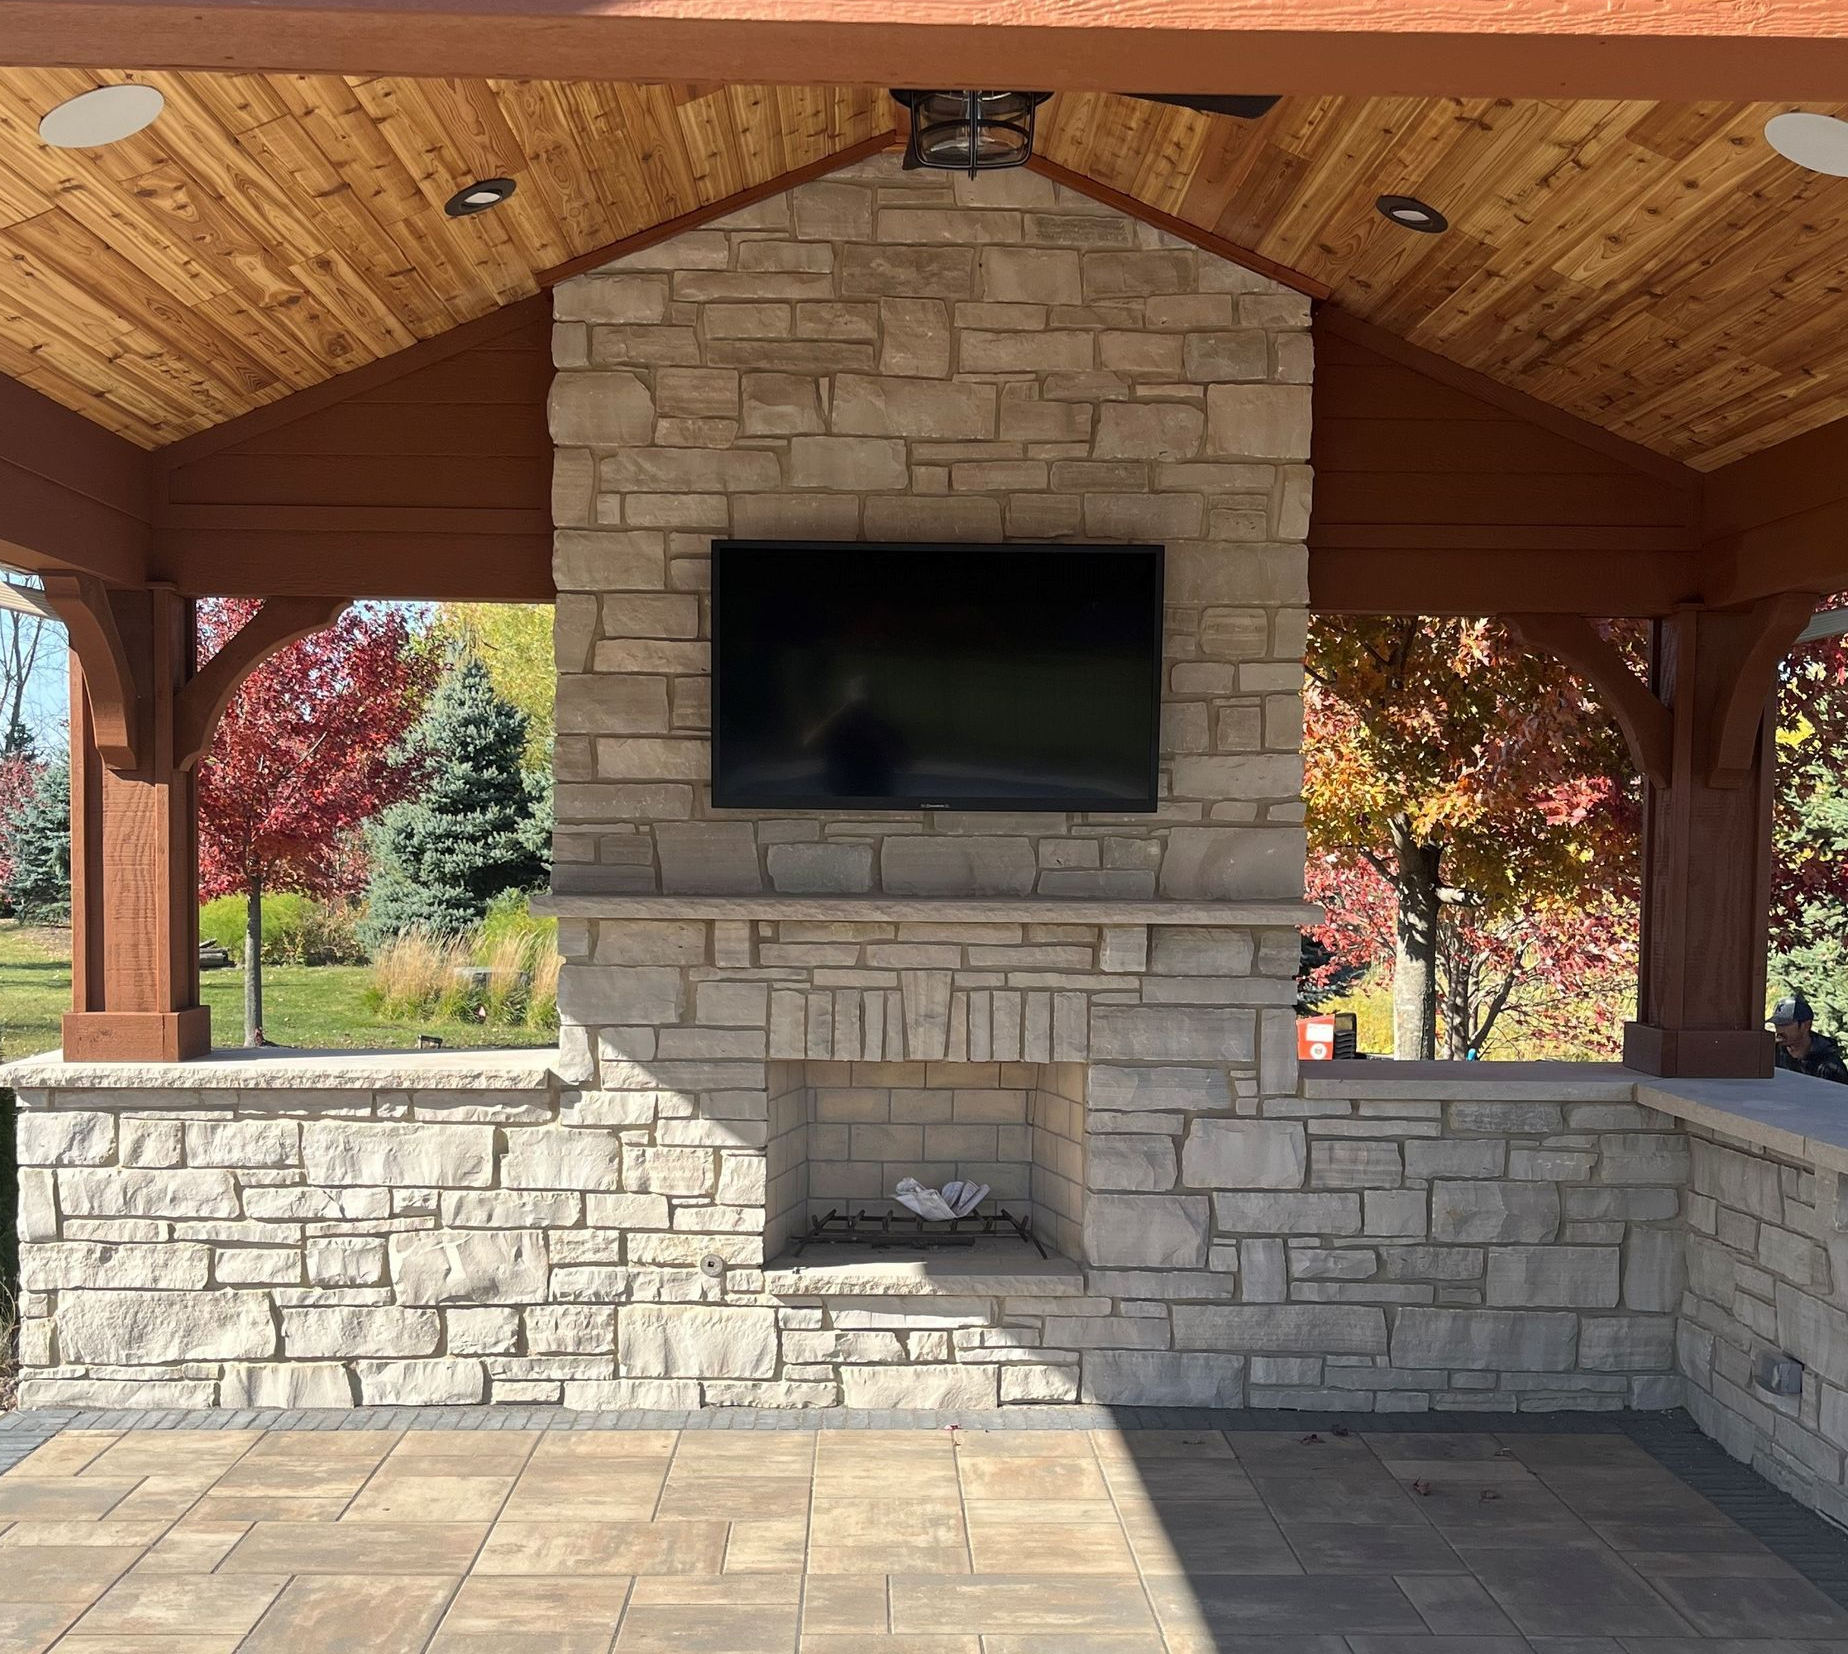
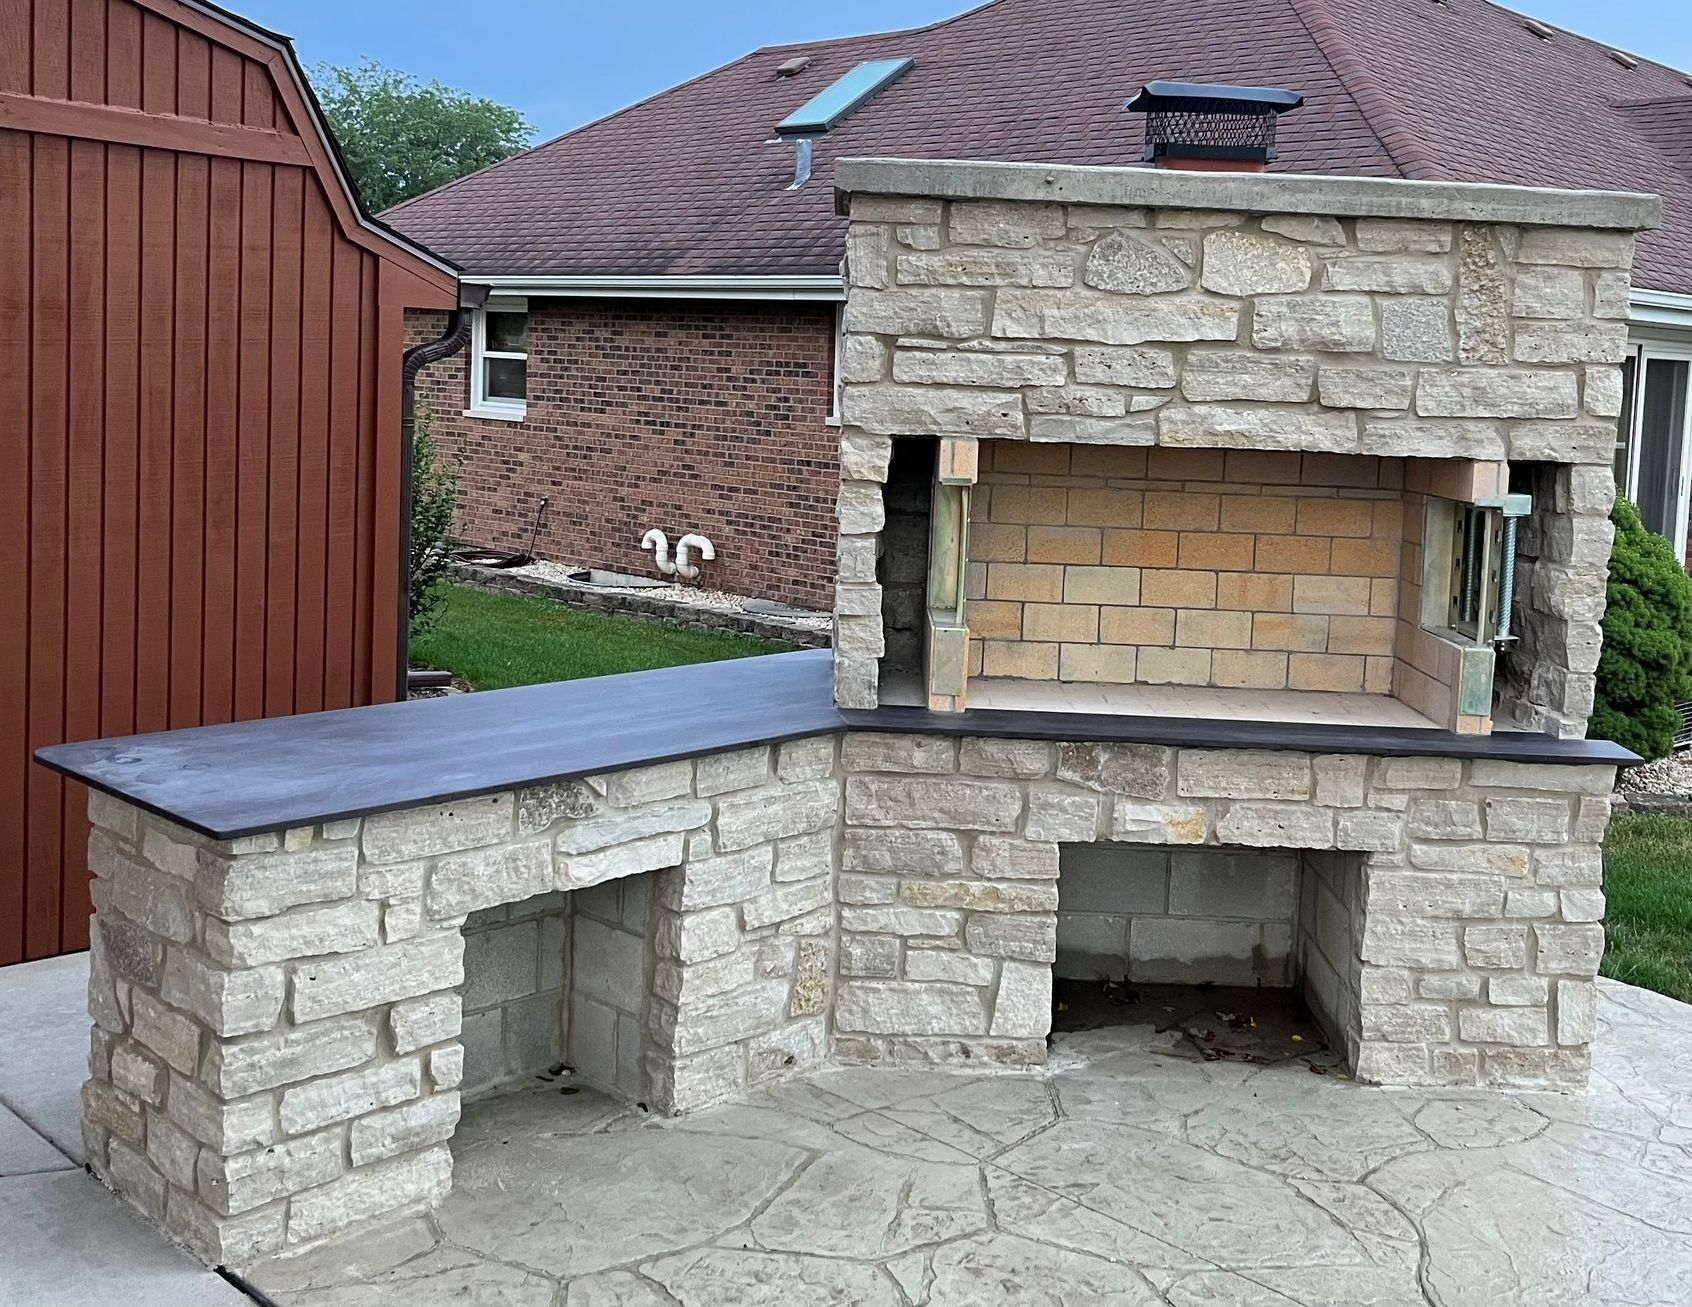
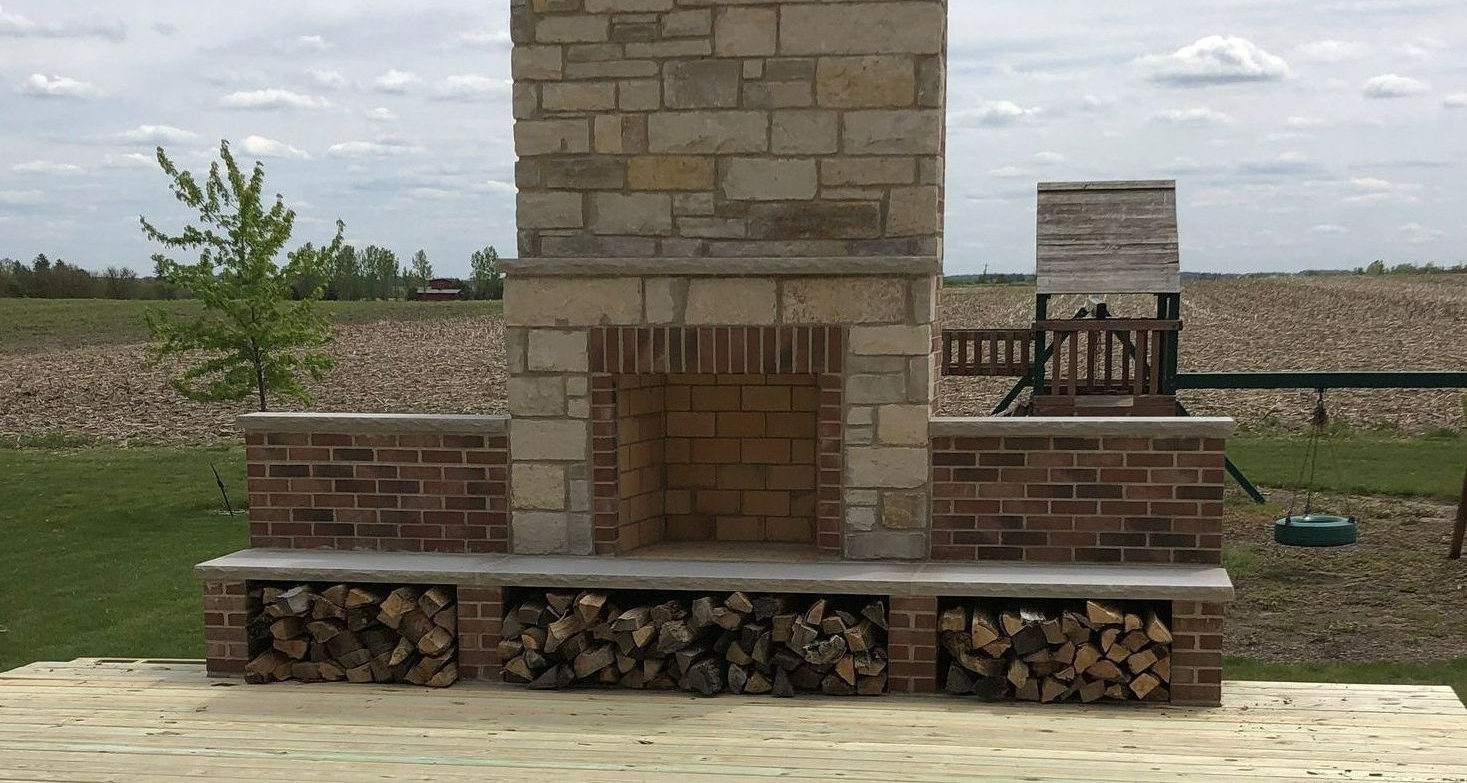
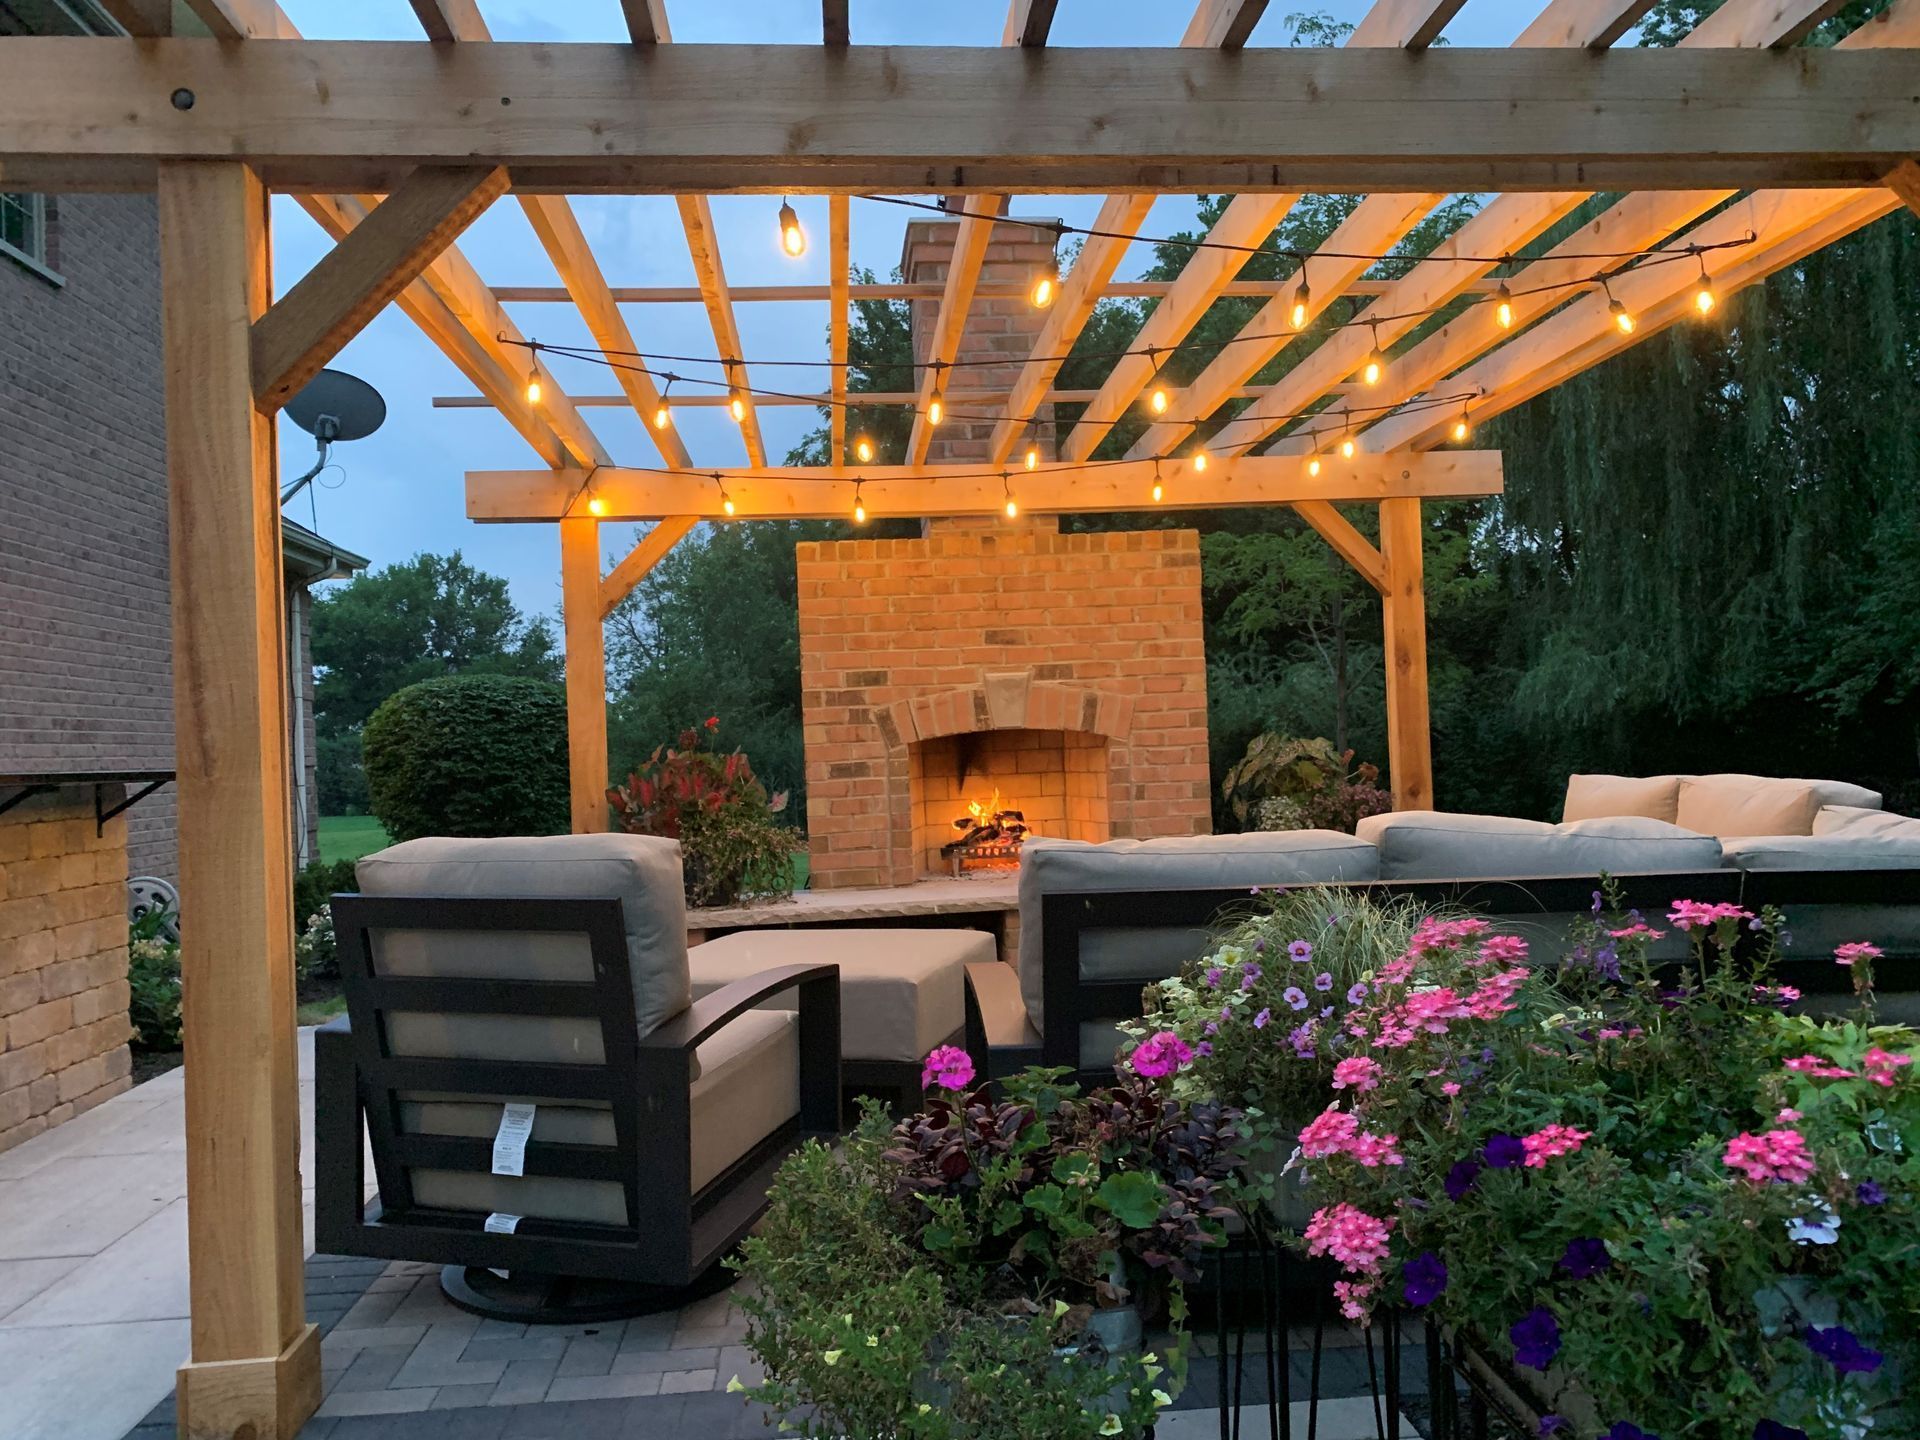
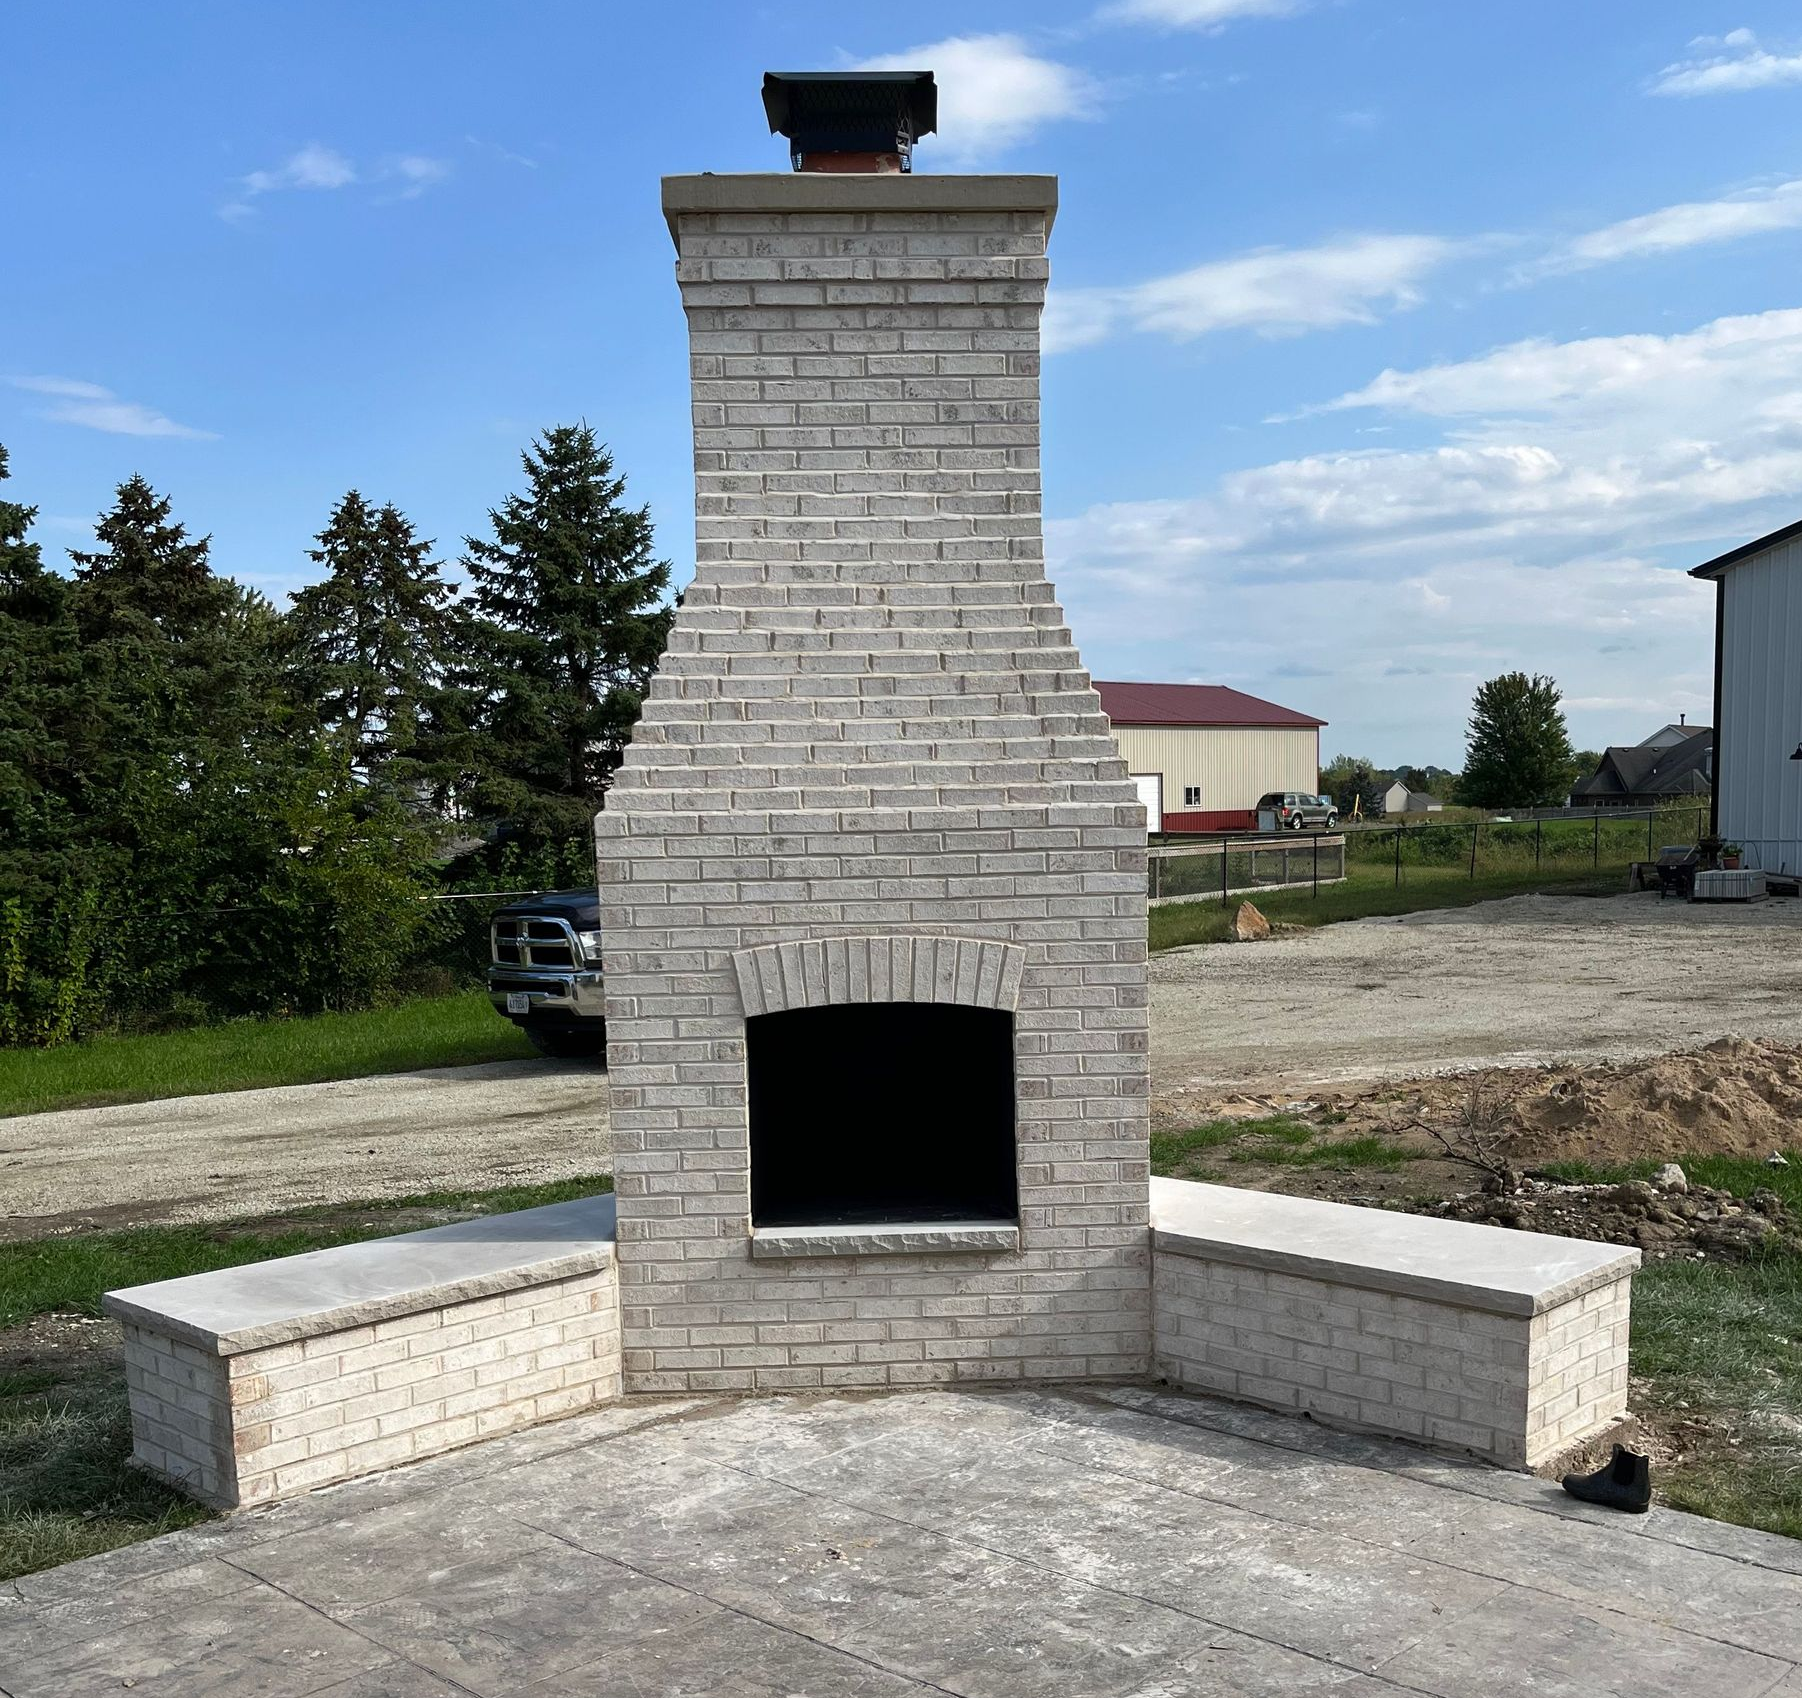
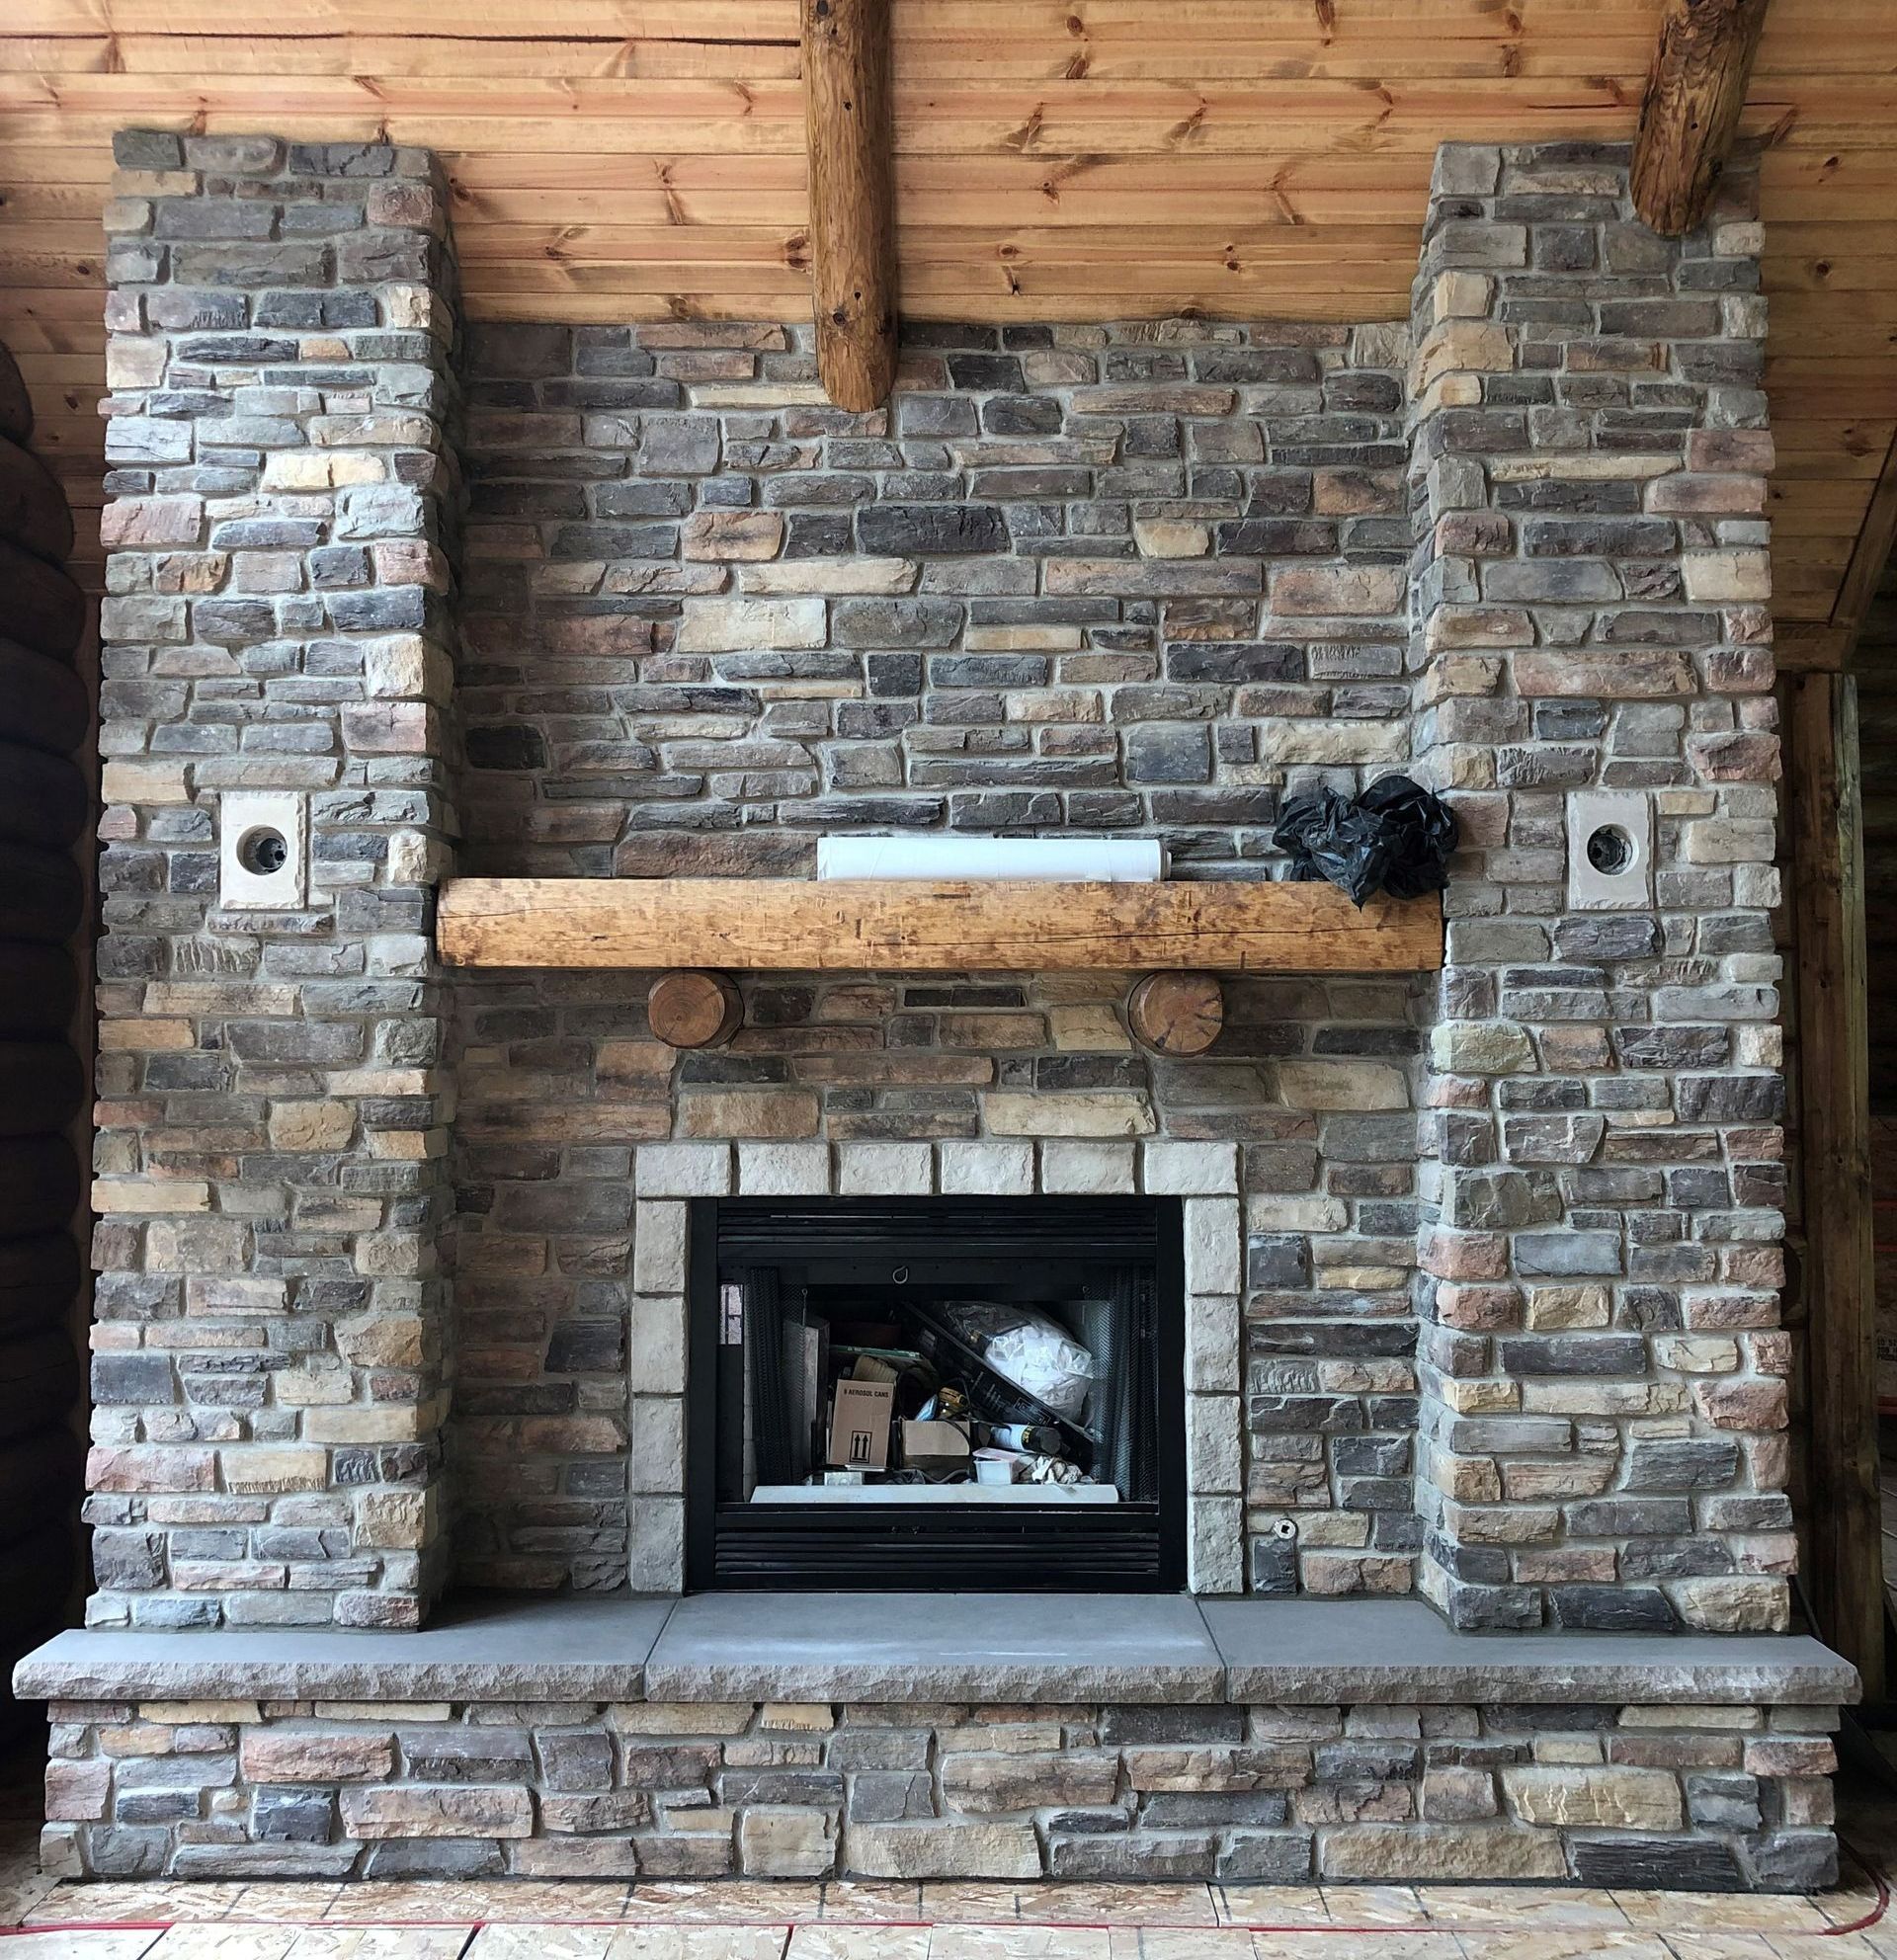
A custom masonry pizza oven or outdoor fireplace can remain a centerpiece during colder months, but it still needs seasonal care. Remove ash, food residue, and loose debris after the feature has cooled completely. Keep the firebox, chimney opening, cap, vents, and drainage areas clear.
If the feature will remain unused until spring, make sure the interior is dry before covering or closing it according to its design. Wet ash can hold moisture against masonry and metal components, while debris around the opening may restrict airflow or drainage.
Cold-weather use calls for patience. A masonry pizza oven or fireplace that is extremely cold or damp should be heated gradually rather than exposed to an abrupt temperature change. Follow the builder’s operating guidance and keep snow, covers, and combustible materials away from the opening before lighting a fire.
Winter is also a good time to note how the feature fits your outdoor routine. If wind regularly pushes smoke toward seating, snow blocks access, or the space becomes too dark to use safely, those observations can inform future improvements to the surrounding outdoor living area.
6. Secure Storage Areas & Plan for Spring
Empty storage spaces of anything that could freeze, absorb moisture, or attract pests. Make sure doors and access panels latch securely, but do not block ventilation or drainage openings that are part of the kitchen’s design.
Inspect seating walls, decorative pillars, steps connected to the kitchen structure, and other custom elements for loose caps or damaged joints. Secure lightweight covers and accessories so winter wind cannot drive them against the masonry.
A well-planned outdoor kitchen should fit the property and the way you intend to use it. Material selection, masonry detailing, storage placement, counter configuration, and connections to other custom features all contribute to how the space performs throughout the year.
Custom Outdoor Kitchens Built for Southwest Michigan
Custom Brick & Stone designs and builds outdoor kitchens with custom brickwork, natural stone, countertops, storage areas, pizza ovens, fireplaces, seating walls, and other coordinated masonry features. Each project is planned around your property, preferred style, and the way you want to cook and gather outside.
With more than 20 years of experience, licensed and insured crews, and a supervisor on every jobsite, Custom Brick & Stone combines detailed design with skilled masonry construction. Contact our team for a free estimate on your custom outdoor kitchen in New Buffalo, Union Pier, St. Joseph, or throughout Southwest Michigan.