A Step-by-Step Guide to Fireplace Refacing
Custom Brick & Stone • December 4, 2023
Learn Our Fireplace Refacing Process!
A fireplace serves as a beautiful focal point for any room, and a
fireplace refacing
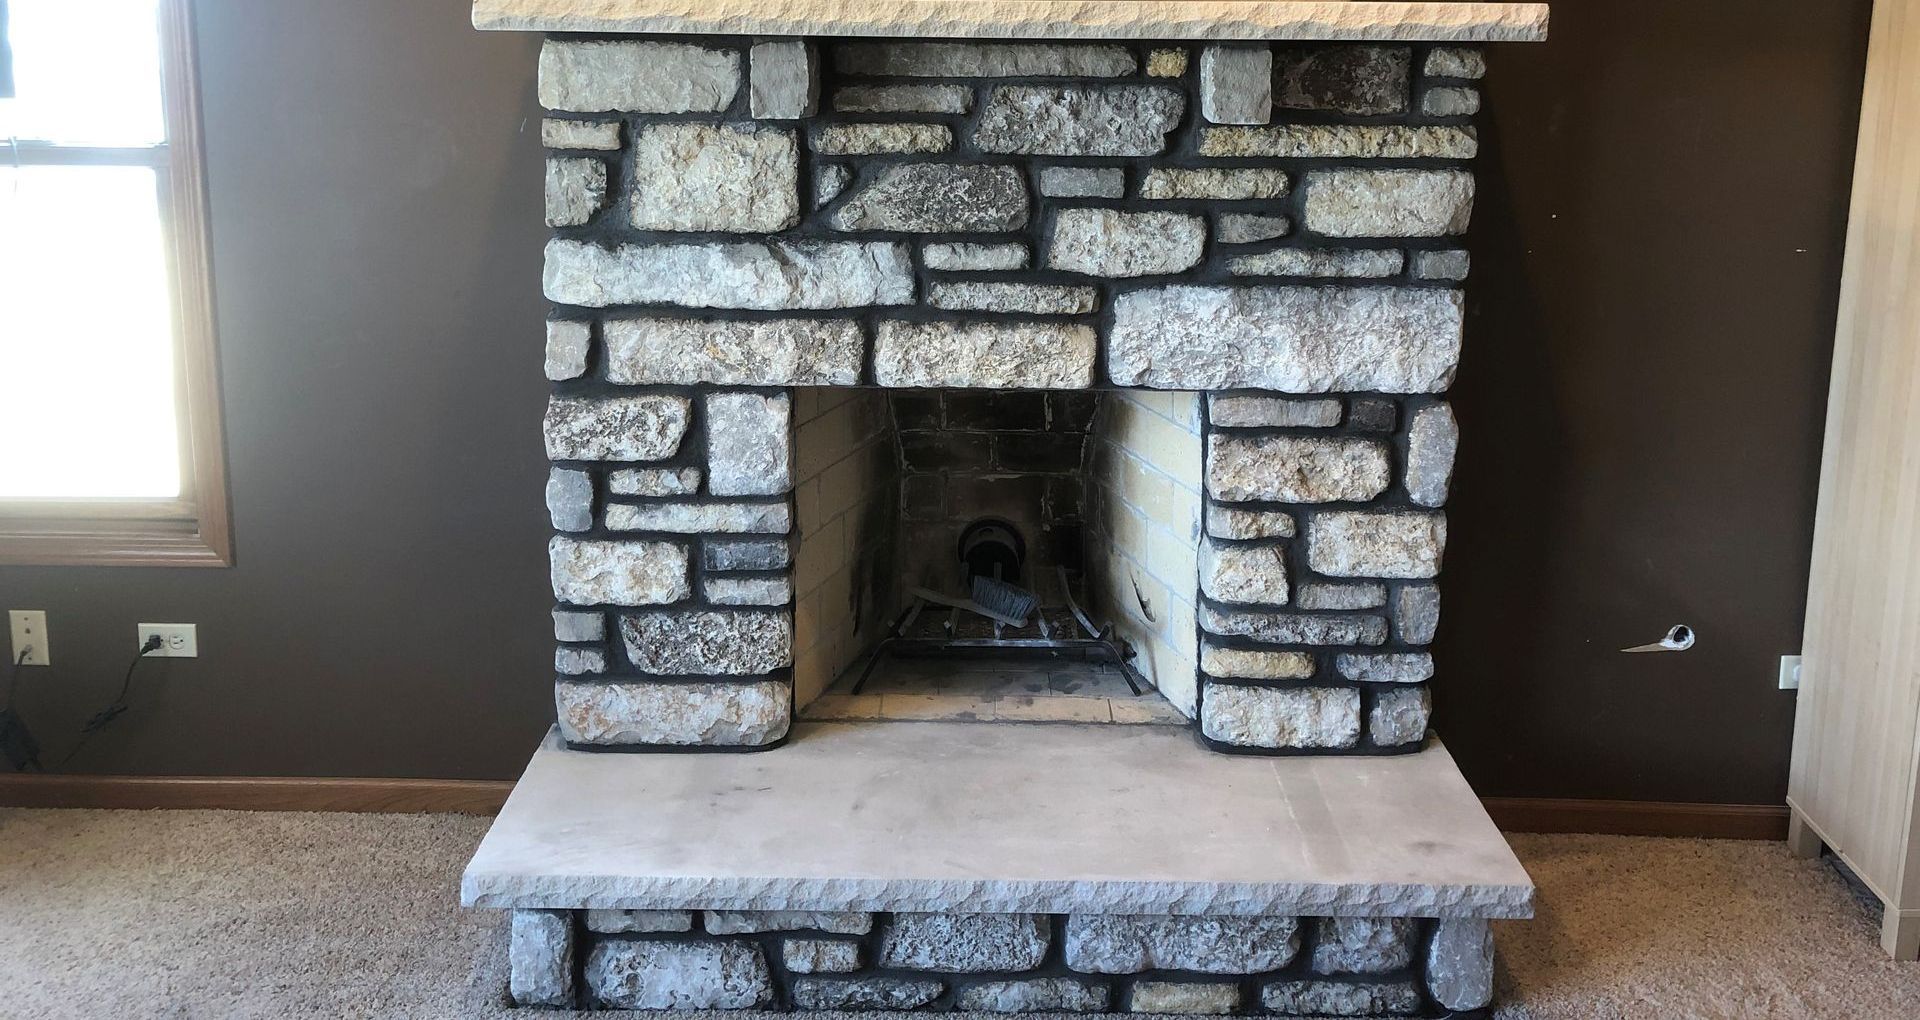
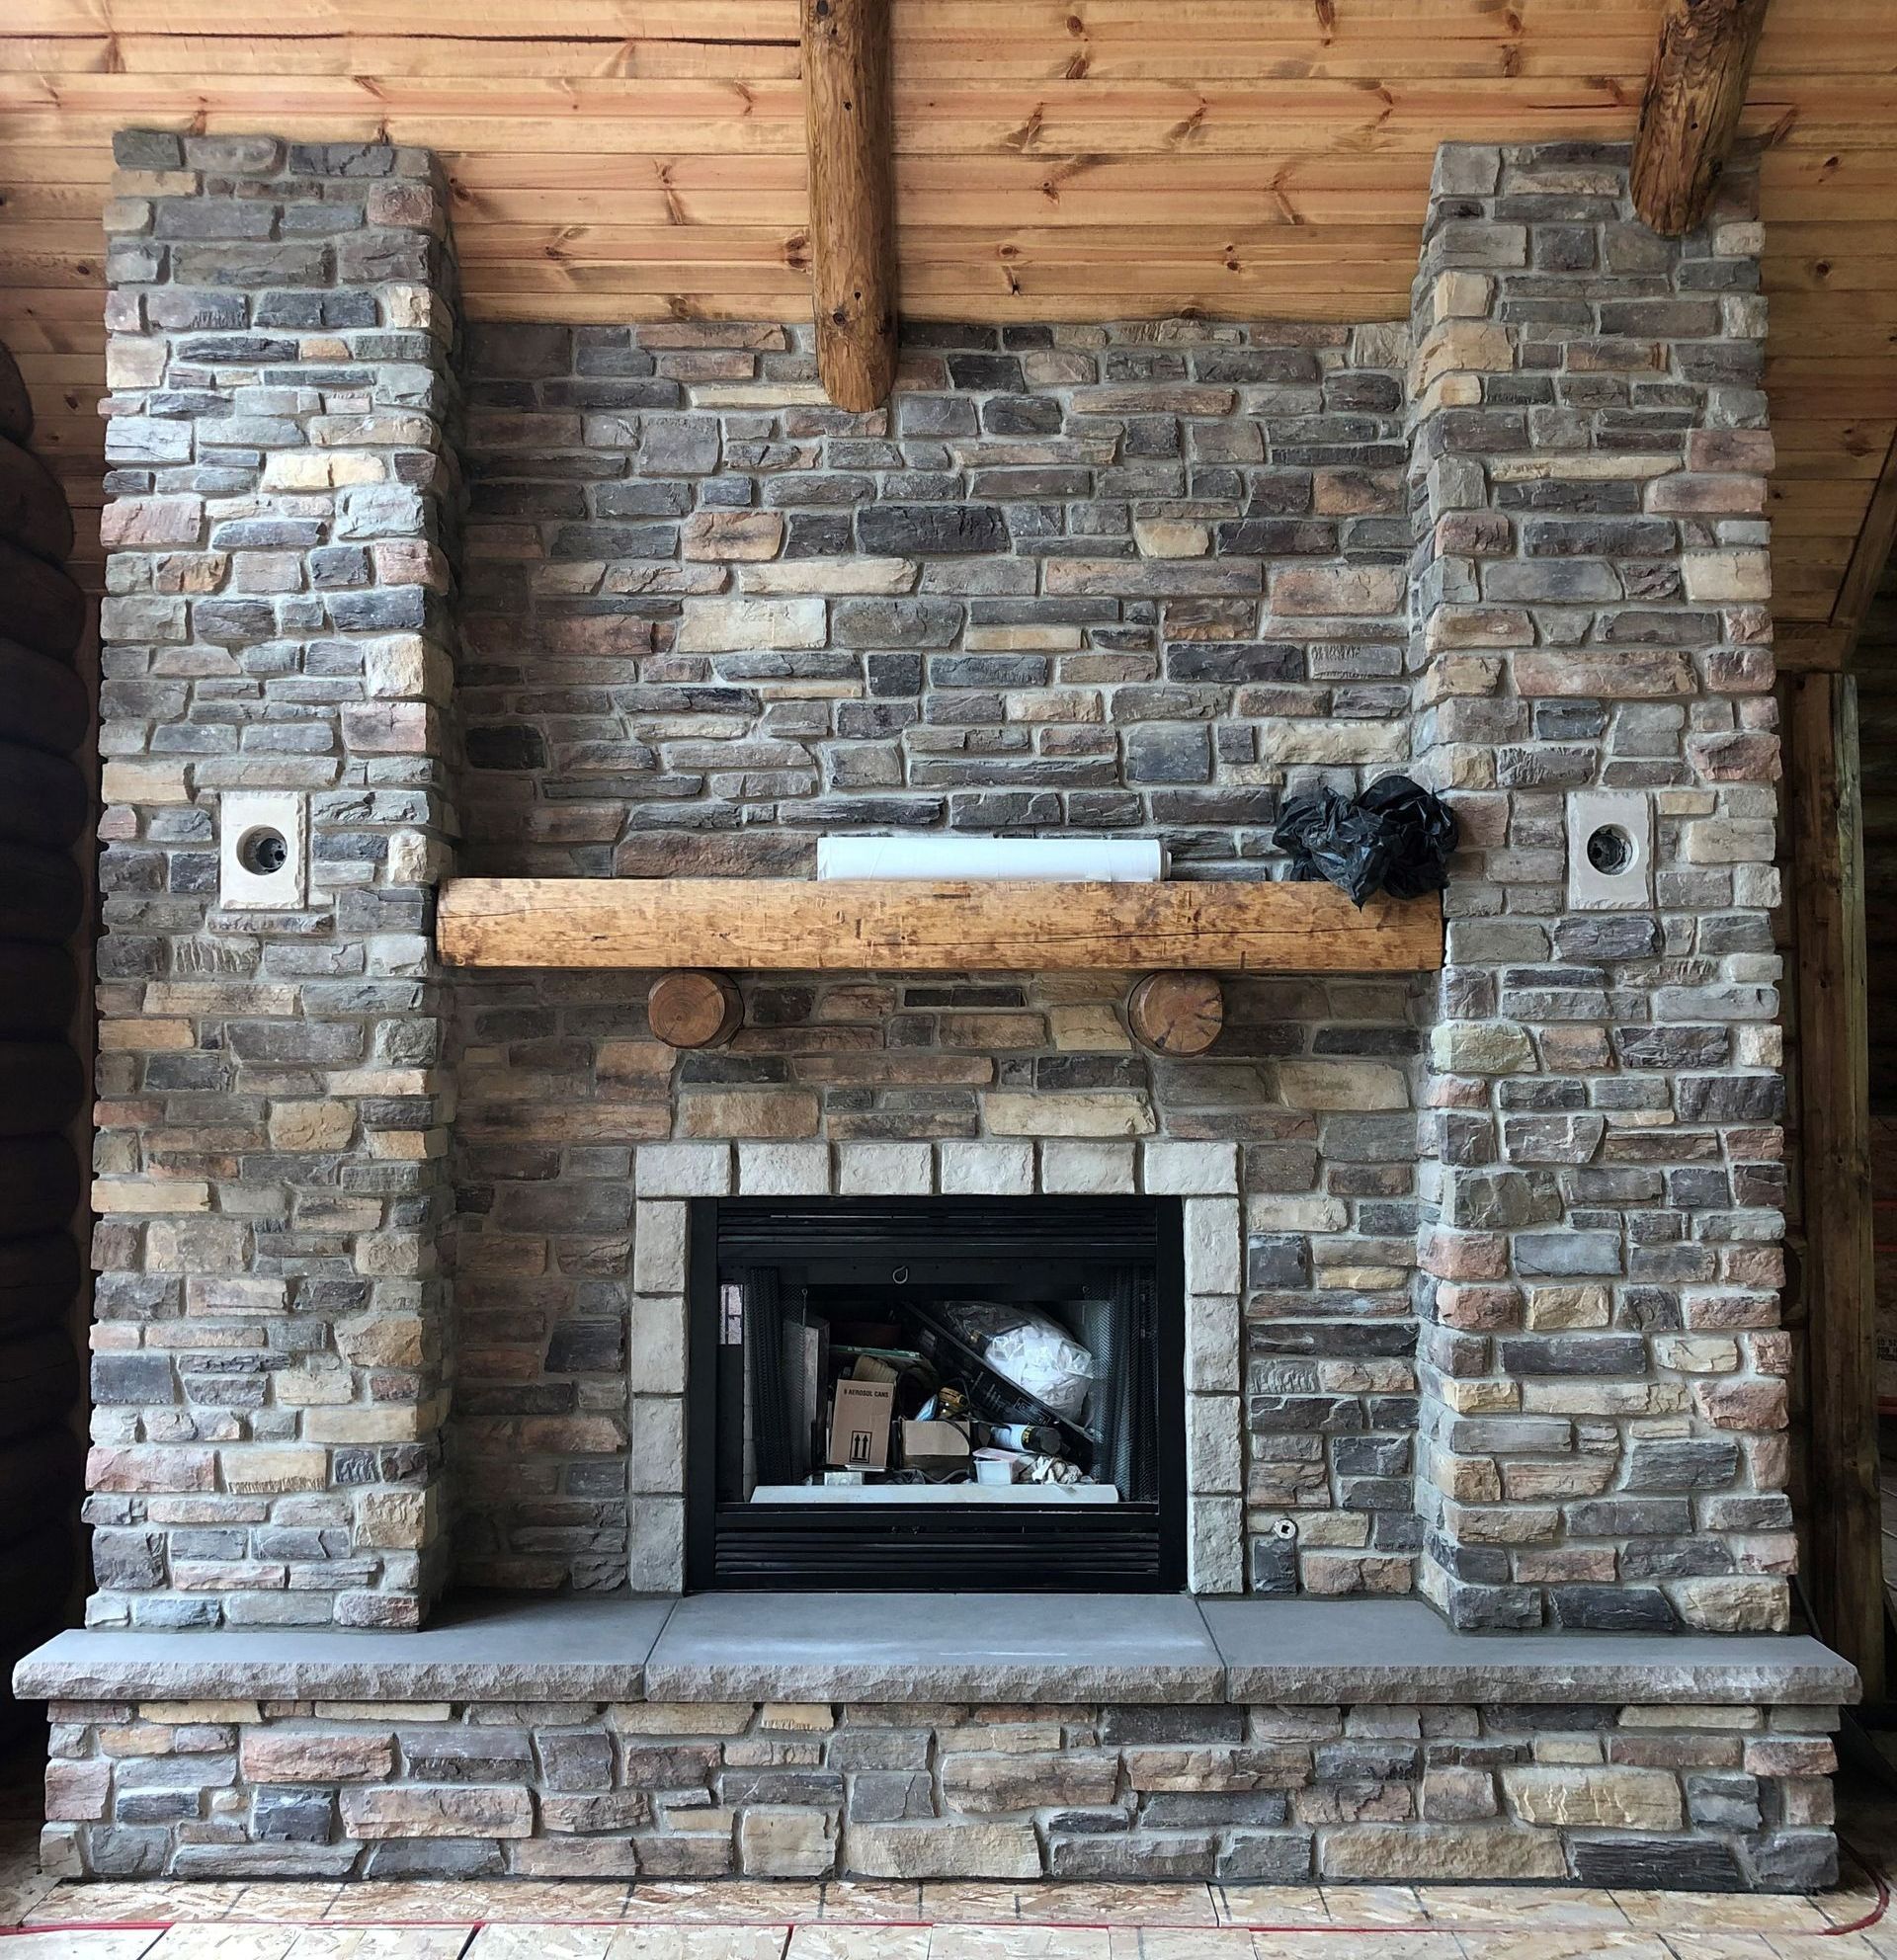
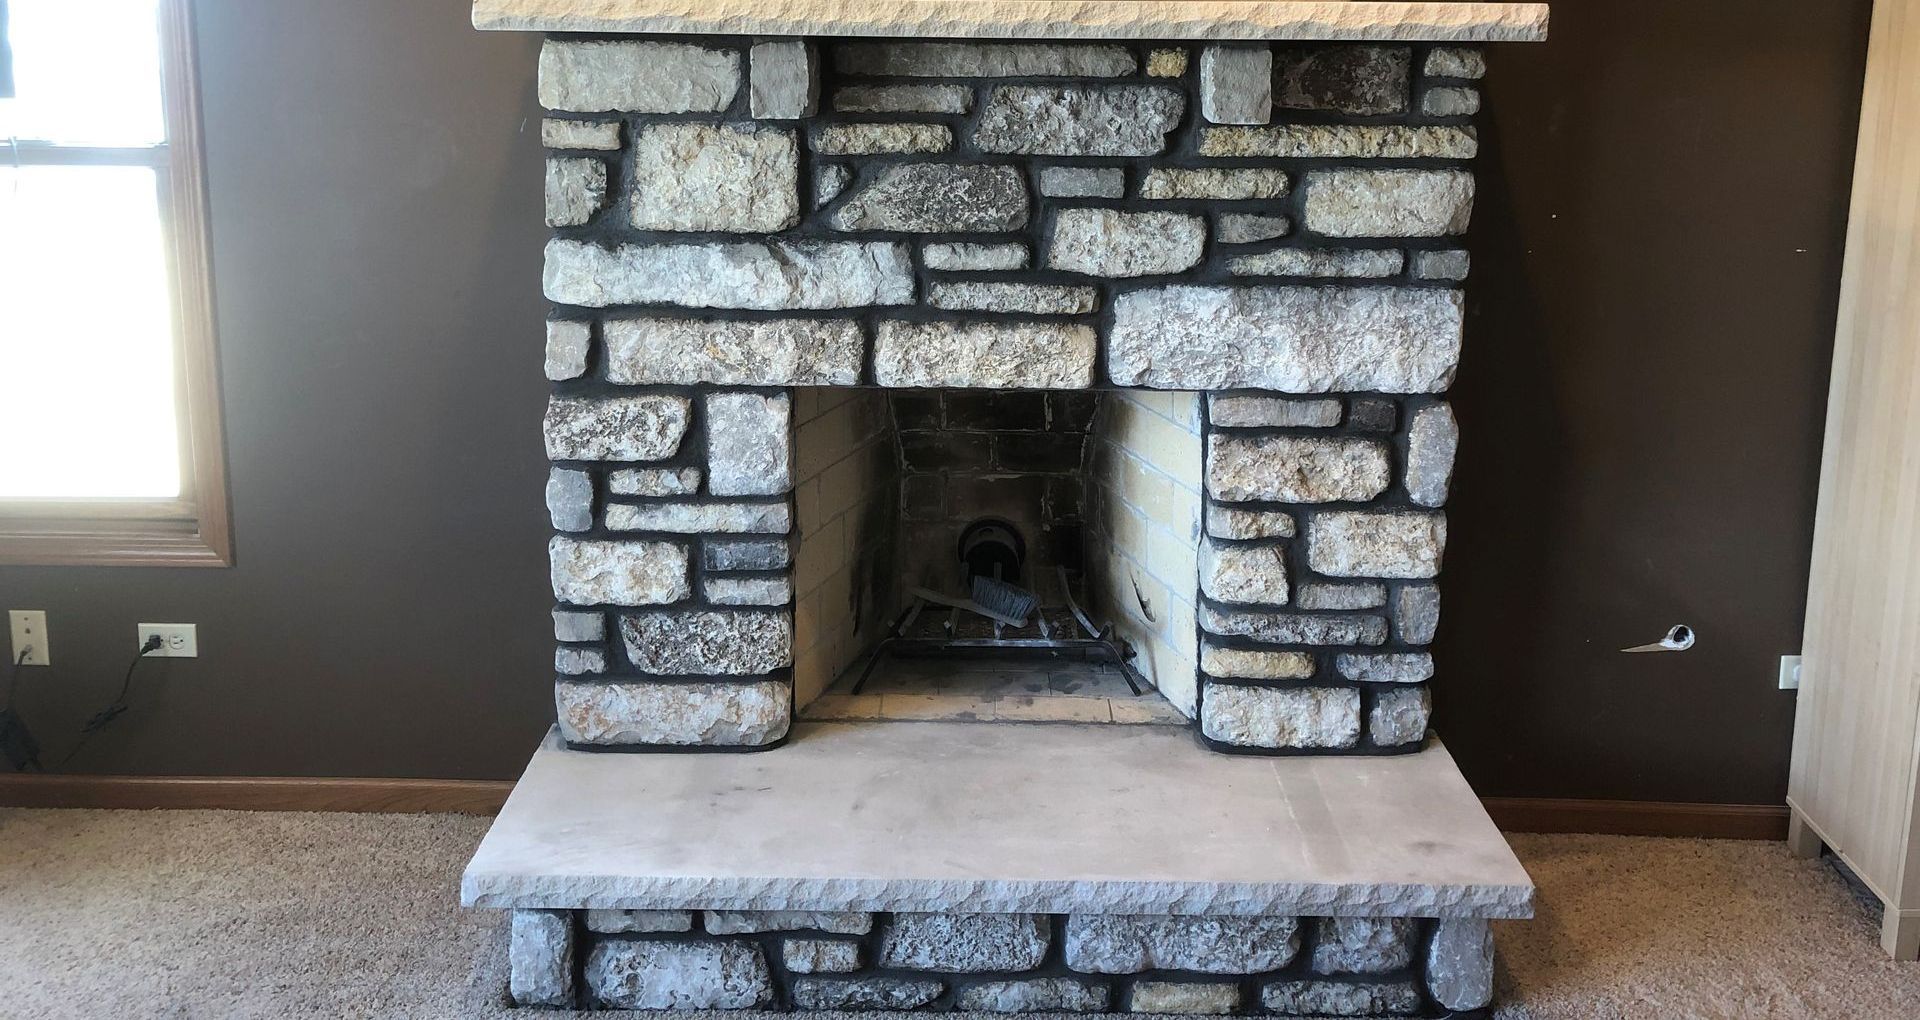
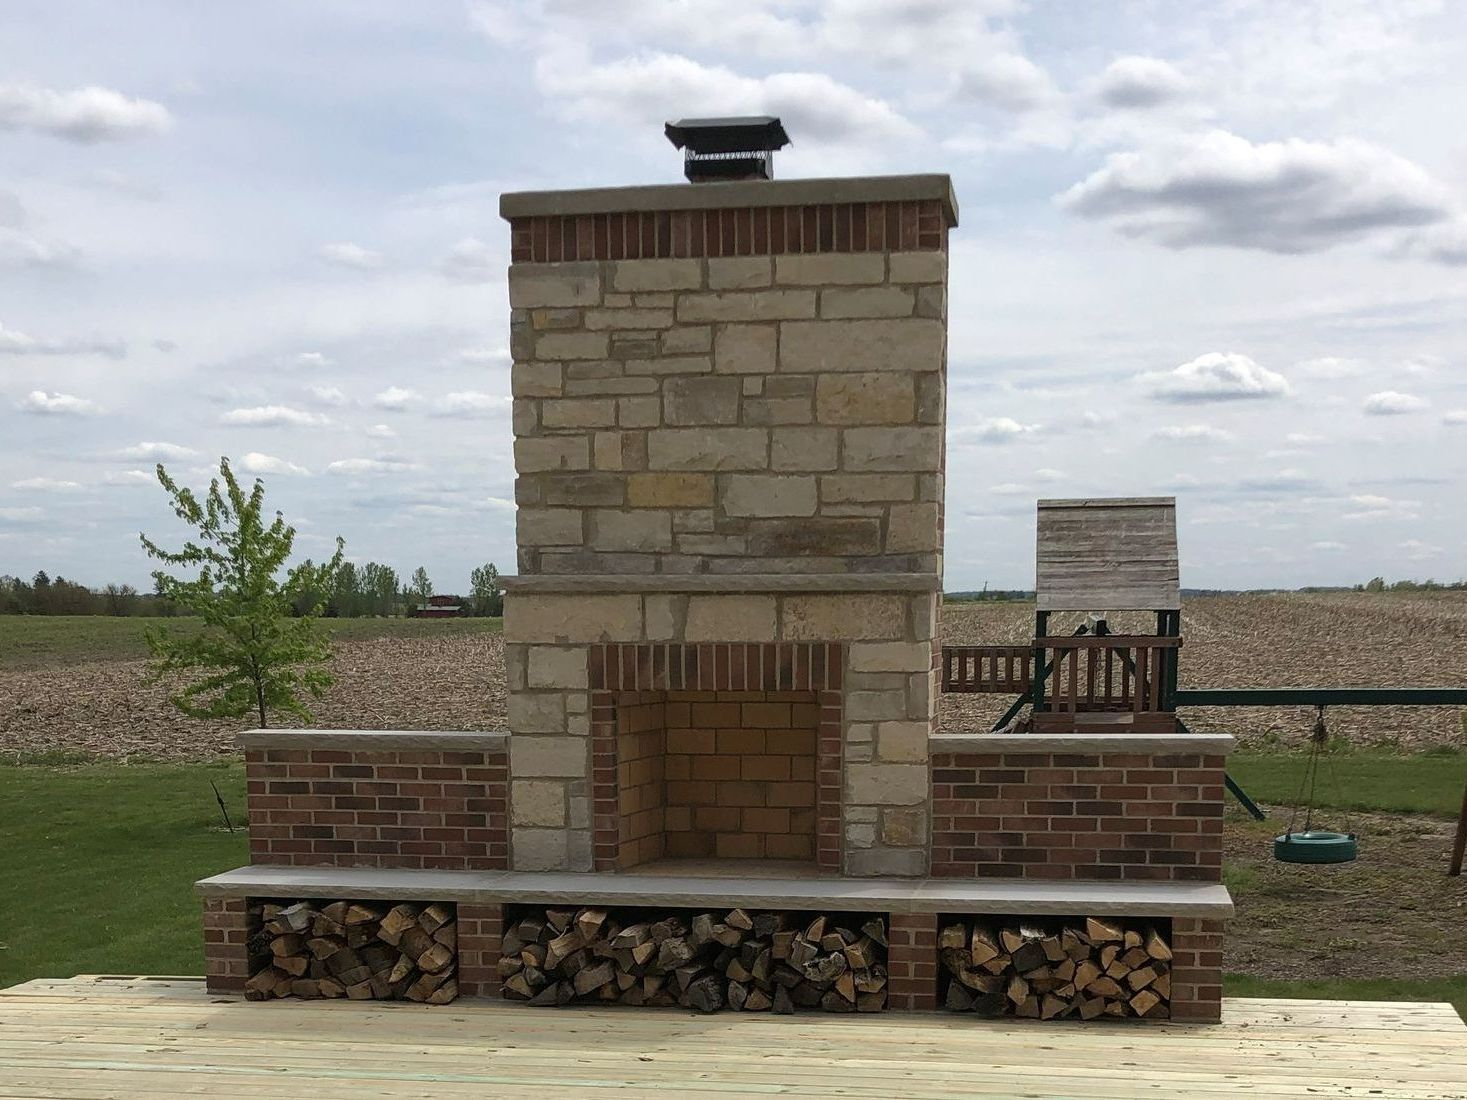
can improve the overall aesthetic of your home without having to do a full fireplace replacement. In this blog, we will be discussing the step-by-step process of fireplace refacing to get you better prepared for your home improvement!
If you're interested in improving the overall look of your fireplace, give our professionals at Custom Brick & Stone a call today! We service Orland Park , Saint John , Tinley Park , and surrounding areas with fireplace refacing daily!
Step 1: Assessment and Planning
Before we begin the fireplace refacing process, our masonry techs will carefully access the current state of your fireplace. They will consider factors such as the existing material, condition, and your design preferences. Our initial evaluation will help our experts to determine the materials needed for the fireplace refacing project.Step 2: Measure and Gather Materials
Accurate measurements are crucial for a seamless fireplace refacing project. Our professional masonry techs will measure the dimensions of your fireplace. Once we have the correct measurements, we will discuss the materials to choose for your stone or brick fireplace refacing. Common options include stone veneer, tiles, wood paneling, metal accents of these, depending on your design choice and overall room aesthetic.Step 3: Prepare the Surface
Before applying the new brick or stone, it’s essential to prepare the existing surface on your fireplace. Our mason will clean the fireplace, removing any dust, debris, or loose material. If your fireplace has a glossy finish, we will first have to roughen the surface slightly with sandpaper to improve adhesion for the fireplace refacing.Step 4: Apply the Adhesive
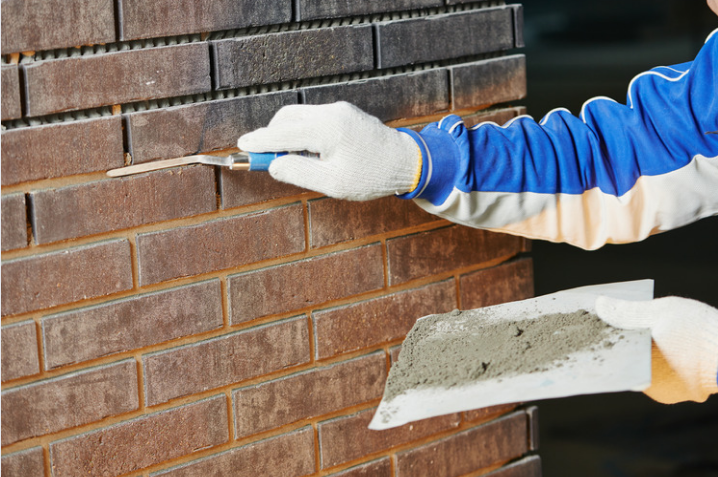
Using adhesive, our mason will begin applying the fireplace refacing material to your fireplace surface. Whether we’re working with stone veneer, tiles, wood panels, or brick, we will ensure an even and secure application, paying attention to corners and edges for a polished look for your fireplace.Step 5: Arrange and Install the Refacing Material
For certain materials like tiles or stone veneer, it’s crucial we plan the arrangement beforehand. We will lay out the stone in the desired pattern to ensure the most visually appealing result. Once we’re satisfied with the stone arrangement, we will proceed with the fireplace refacing, pressing each piece firmly into the adhesive.Step 6: Cut and Trim as Needed
There will be areas where we’ll need to cut or trim the fireplace refacing stone or brick to fit precisely. We will be using tools such as tile cutters, saws, or other cutting tools to achieve clean and accurate cuts depending on the material chosen.Step 7: Grout and Seal (If Applicable)
If you’ve chosen a fireplace refacing material that requires grouting, we will apply grout carefully and evenly between the stone or brick, then wipe it away before it dries. For some fireplace materials, sealing may be necessary to protect against stains and ensure longevity.Step 8: Finishing Touches
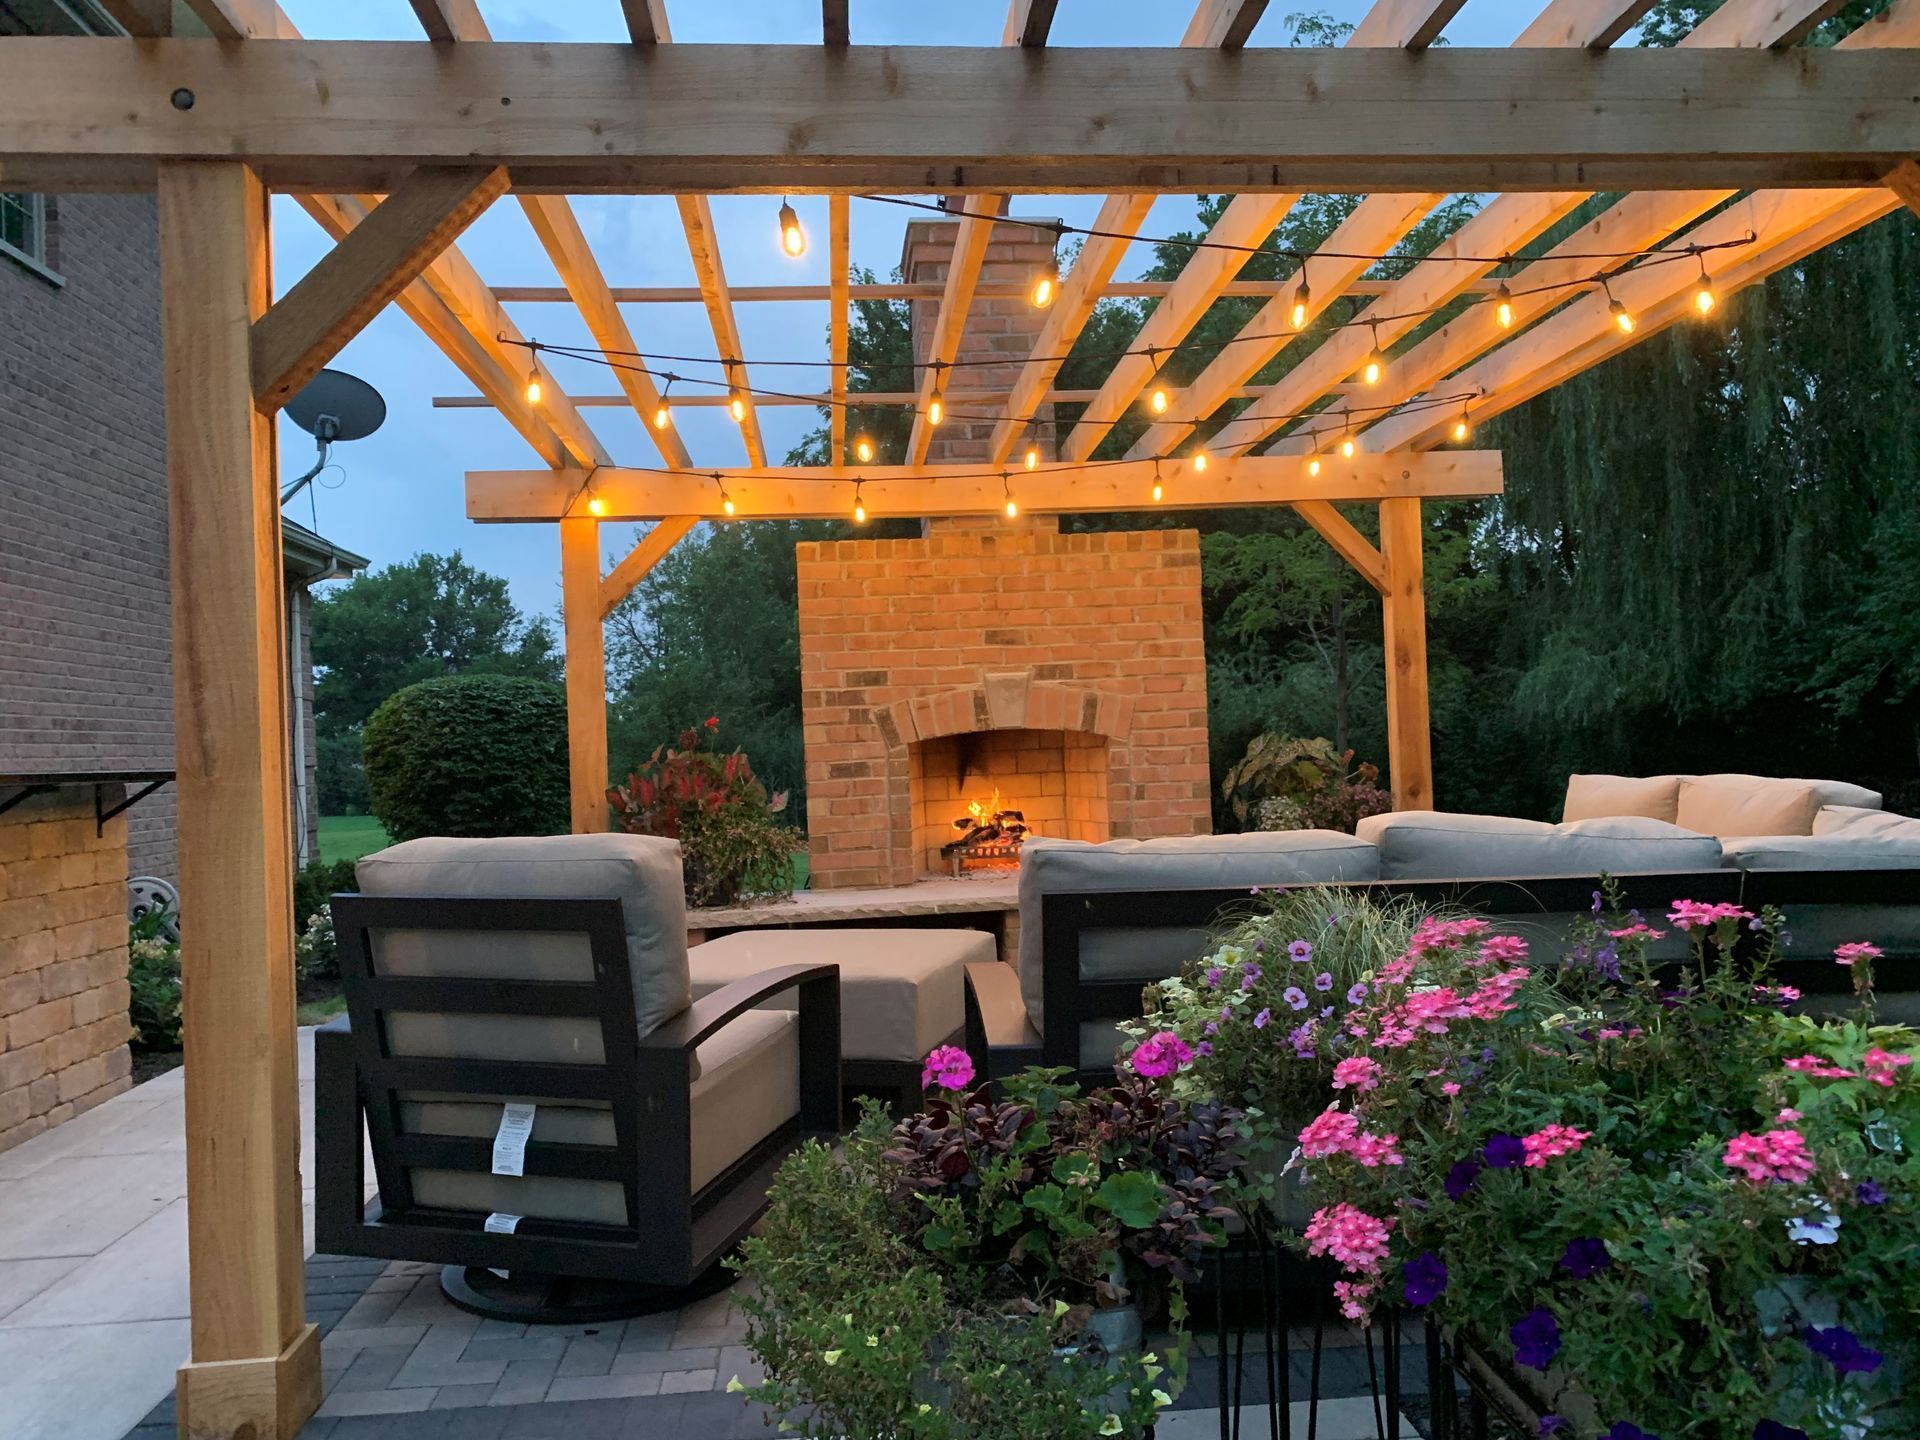
Once the adhesive has set, and all grout or sealant has dried, we will do a final inspection on the results of your improved fireplace. Once our customer is completely happy with their fireplace refacing results, we will clean up and consider it a job done! Enjoy the warmth and ambiance of your transformed living space.If you're interested in improving the overall look of your fireplace, give our professionals at Custom Brick & Stone a call today! We service Orland Park , Saint John , Tinley Park , and surrounding areas with fireplace refacing daily!
